Tuesday, January 12, 2016

Snow Day Equals Play Day!

 With a combination of cutting and prying I was finally able to get the dreaded zebra felt up. A round of sanding with the palm sander made it smooth enough to work with.
 Next up was the bathroom. Here it is without the walls so you can see that I decorated it and added the essentials like a towel and toilet paper - even though once the walls are installed no one will ever see anything but a glimpse of the bathroom. I'm just going to have to pretend that there's a tub or shower in there, too. ;-)

 Here it is with the walls installed.
This is all you can see now. I'm still glad I made an actual bathroom, though.

Hopefully I will have more to share later today. I'm doing laundry, too, so I can play guilt-free, lol.
I love snow days!

Monday, January 11, 2016

A Makeover Story

The dinette set got a small makeover this afternoon. The chairs were much too wide and they'd been bugging me since I "finished" them. So I did some cutting, sanding, and repainting and they look much more in scale. I also added just a bit of pink to the table top and trimmed and evened up the table feet. I think I'm truly finished with it this time.

Sunday, January 10, 2016

Opinions, please?

The original plan for the living room - It's scrapbook paper with details added.
I'm considering knotty pine paneling in the living room bay. I don't really want to panel the whole room and will most likely stick with the print wallpaper I originally chose for this room. Will it look weird to panel only that small area? Should I panel that whole wall? Should I rethink the print wallpaper and go with a light gray instead? Lots of questions, my friends, and I hope you have opinions to share!

Saturday, January 9, 2016

There's light at the end of the....er....hall

 This is a picture heavy post but I wanted to show you my purchases and I got a bit of time today to play. The turquoise chair and ottoman are the purchases I told you about in my last post. I extended the chair legs so that the seat is at the right height. The next photo better shows the color. It's very similar to the couch color.
 The television is a vintage salt and pepper shaker set. I got the idea from a couple of blogs when I was searching for MCM dollhouse projects. The starburst clock is temporarily in place with a bit of wax but I think it will likely end up in that spot when the room is finished.
 The bathroom walls are cut but will need trimming and such to look finished. I will wallpaper and put "tile" flooring in and a mirror over the sink. There's not much point in doing much more than that since you really can't see much. I will feel better knowing it's done. ;-) The brown fabric will be the carpet for Davy's room.

 I'm adding a wall and door on Davy's room, too. If I run the wall from the center of the window out I won't have to make any exterior changes. Since the window is centered over the bay it would look weird if I change the position of the window. I think I will make both windows look bigger on the inside with trim and curtains. That's plan A, anyway.

 The upper cabinets are temporarily in place with a bit of packing tape. I will either order another kit or make shelves for this end of the upper cabinet area. The under the stairs area will be a pantry.
 Looks like Mr. Sherwood just got home from work. I'm sure he will be happy if the renovations are ever completed.
 Davy and his dog are checking out the layout for his bedroom. The long narrow room doesn't lend itself to much creativity in the layout but at least he will have a private room with a door.
I think I like this master bedroom layout better than the last one I tried. The fabric carpet is just laid on top of the zebra felt that I'm still trying to get rid of. Grrr. I keep working at it and can remove just a bit each time. I can't just lay carpet over it, though, like I can the glue bumps in Davy's room.

I didn't do a whole lot today but it definitely feels like I've made progress. I'm still hoping for that snow day. :-)

Tuesday, January 5, 2016

It's Finished- part 2

As anyone who's been a reader of my blog for very long knows, finished usually isn't finished the first time I claim it is, lol. I have to ponder and look for awhile and usually decide on an improvement. I wasn't happy with the Triple Thick "glass". So I decided to start with a new face and the old hands and try again. This is much better. Many of the vintage photos I found showed no glass on the clocks so I left it off and I like it now. This time finished really means finished....I promise.;-)

Monday, January 4, 2016

It's finished!

The flash caused a little glare on the "glass" so it's kind of hard to see the face. It's much clearer when you look at the actual clock. All the little things are making me anxious to start on the house. Maybe I can find some time next weekend. Fingers crossed!

Have a great week, my friends.

Sunday, January 3, 2016

Mid Century Modern Starburst Clock

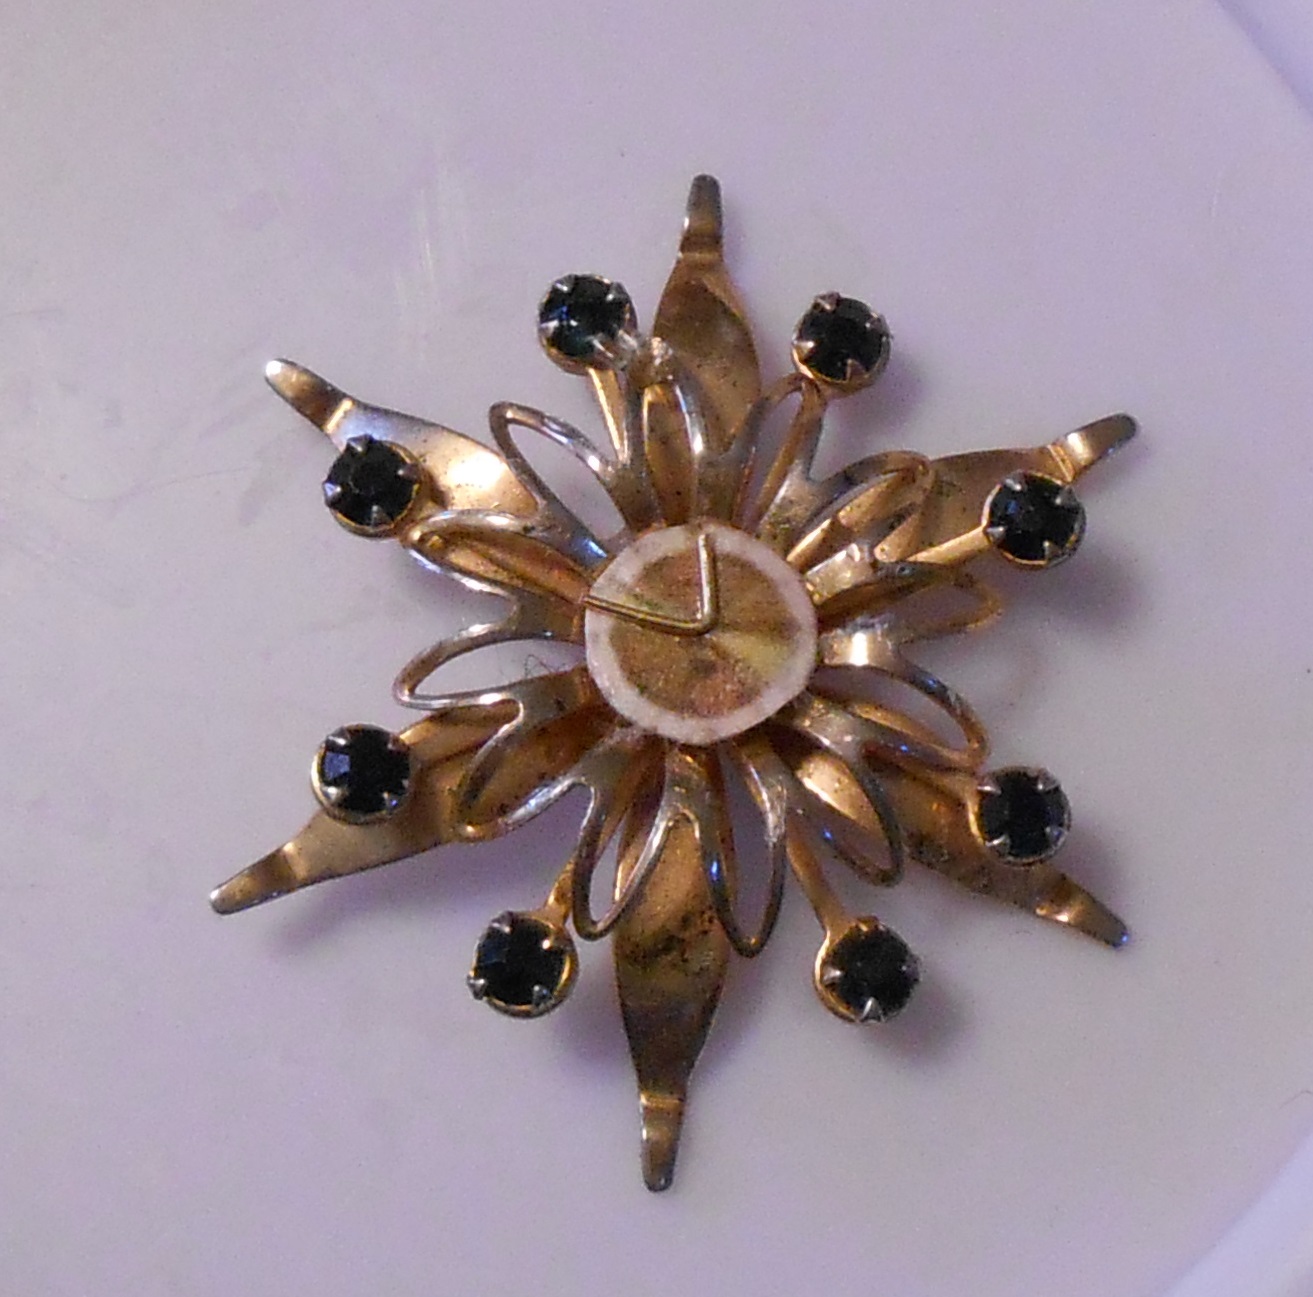
 While looking through Etsy for mid century modern dollhouse items I found a couple of sellers that make amazing dollhouse miniatures from that era. Unfortunately, my budget does not allow me to spend that much on my hobby. I really liked a couple of the clocks I saw. I did a google image search for mcm wall clocks and started to get ideas for what I could make. Then I had a "eureka moment" and remembered the vintage broach I hung in the antique shop just because it looked like a starburst clock. So I retrieved the broach and printed out a clock face I liked in several sizes.
 The first attempt was mounting a small face on cardboard and then gluing it in place. I didn't like the way that looked.
 Next, I popped out the faux pearl in the center and glued a plain paper face that was a bit larger in place. Ah, now we're getting somewhere.
 A tiny piece of wire, bent and glued in place makes perfect clock hands.
Now I'm waiting for the Triple Thick "glass" to dry. I will update this post with a final picture of the finished clock. I am so excited about this little thing! Back later with the update!

I also purchased a chair and ottoman for the Westville while I was searching Etsy. It's a dangerous place, that Etsy, lol. The seller is a lovely lady who didn't mind taking extra measurements for me. Her shop is filled with vintage items of all kinds.
This is the seller's photo and here's a link to her shop - lrobinson