


Friday, December 11, 2015
Meet little Davey's parents
Wednesday, November 25, 2015
Let the games begin!


And here's the living room. The photo below shows my biggest problem. I don't know what kind of glue was used but it hasn't responded to heat or Goo Gone. The next attempt will involve the palm sander. That helps with the room on the right but I can't get the felt out of the left room. Any and all suggestions will be appreciated. I'm at a loss.

Sunday, November 22, 2015
Lights, Camera,....


It's time to start the renovations. I need to remove all of the windows and replace them. The trim may need to be replaced as well if I can't successfully remove the pieces without breaking them. All rooms get new wallpaper, except for the attic which will have beams. It has such a low ceiling that I'm not sure it can be used for much else other than storage. I may use one wing as a sewing room. The floors need a lot of work, too. Especially the bedrooms that had zebra felt glued down as carpet. I'm hoping a heat gun will help in the removal of the leftover glue.
The exterior is also a mess. The porch trim will have a few alterations to make it look more streamlined. I think I want the exterior finish to be brick. I'm not sure on that yet. So much left to do...I guess I'd better stop typing and get started. :-) Happy new week, my friends!
Saturday, November 21, 2015
It's the little things


We are in the midst of the first winter storm of the season. We had seven inches of snow an hour or so ago and it's still falling steadily. Hubby and I are enjoying hot drinks and homemade donuts. Yum! We are snug and warm in our home while the beautiful snow falls outside. Life is good and we are blessed.


Friday, November 20, 2015
On to the living room


Edit: Here's the chair. It's sort of a futuristic wing chair. The step end table is next to it. Now I desperately need to get to the rehab part so the furniture pieces look good.:-)

Thursday, November 19, 2015
Mid Century Modern Fun


I'm working my way through the furnishings. After the nightstands I'll be moving on to the living room. Stay tuned....
Monday, November 16, 2015
I have a new webpage!
Hi all! I'm hoping to get back to work on the new dollhouse soon. In the meantime, check out my new web page - De-Lightful Minis.
Have a great day!
Have a great day!
Tuesday, November 10, 2015
After the details


Monday, November 9, 2015
Playing with the layout and something new


Sunday, November 8, 2015
Kitchen cabinet update


Saturday, November 7, 2015
I'm alive, really, and I finally had some time to play!!


I'm sorry I've been away so long. Life just hasn't allowed much time for minis lately. Winter is coming, though. That's when I have the most time to play.
Friday, July 31, 2015
Head 'em up and move 'em out!


Wednesday, July 29, 2015
Wallpaper
The thing about doing a doll house project in a time period that is not a common one for miniaturists is that it's harder to find wallpaper. I have made wallpaper for previous projects and it's something I really enjoy doing. Yesterday I spent several hours working on a kitchen design. After thinking about it all night I made some changes. I love the result.

 It's fun to play with colors. Pink and turquoise are not colors I would use in my kitchen but they were typical for the fifties. Several years ago I made a mini version of the farmhouse where I grew up. You don't find much wallpaper for the 70s, either. The kitchen paper I designed for that house was all in golds, oranges, and avocado greens. If you haven't ever designed your own wallpaper, it's very simple with a card making program. I use PrintShop which has a large source of graphics on the software and available for free online. That's where I got the graphics for this paper.
Tomorrow is my last day in the boot. Woo hoo! I know I'm still going to be sore but I am looking forward to sleeping without multiple layers and hardware on my leg.
Have a great day!


Tomorrow is my last day in the boot. Woo hoo! I know I'm still going to be sore but I am looking forward to sleeping without multiple layers and hardware on my leg.
Have a great day!
Sunday, July 26, 2015
Wonderful husband and getting started
First, the wonderful husband part - after 4.5 weeks of resting with my foot elevated I was getting a bit restless. My husband decided to rent a wheelchair that would allow me to elevate my foot. We went to the farmers market, had breakfast out, and then he spent a couple of hours wheeling me around Hobby Lobby so I could start thinking about decorating the Westville. It was heavenly. Also, I saw things from an entirely different perspective, literally. Wheeling around at a child's level made different things jump out at me. It was fun and eye opening. :-)
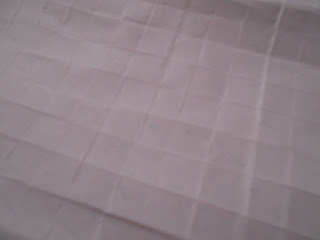
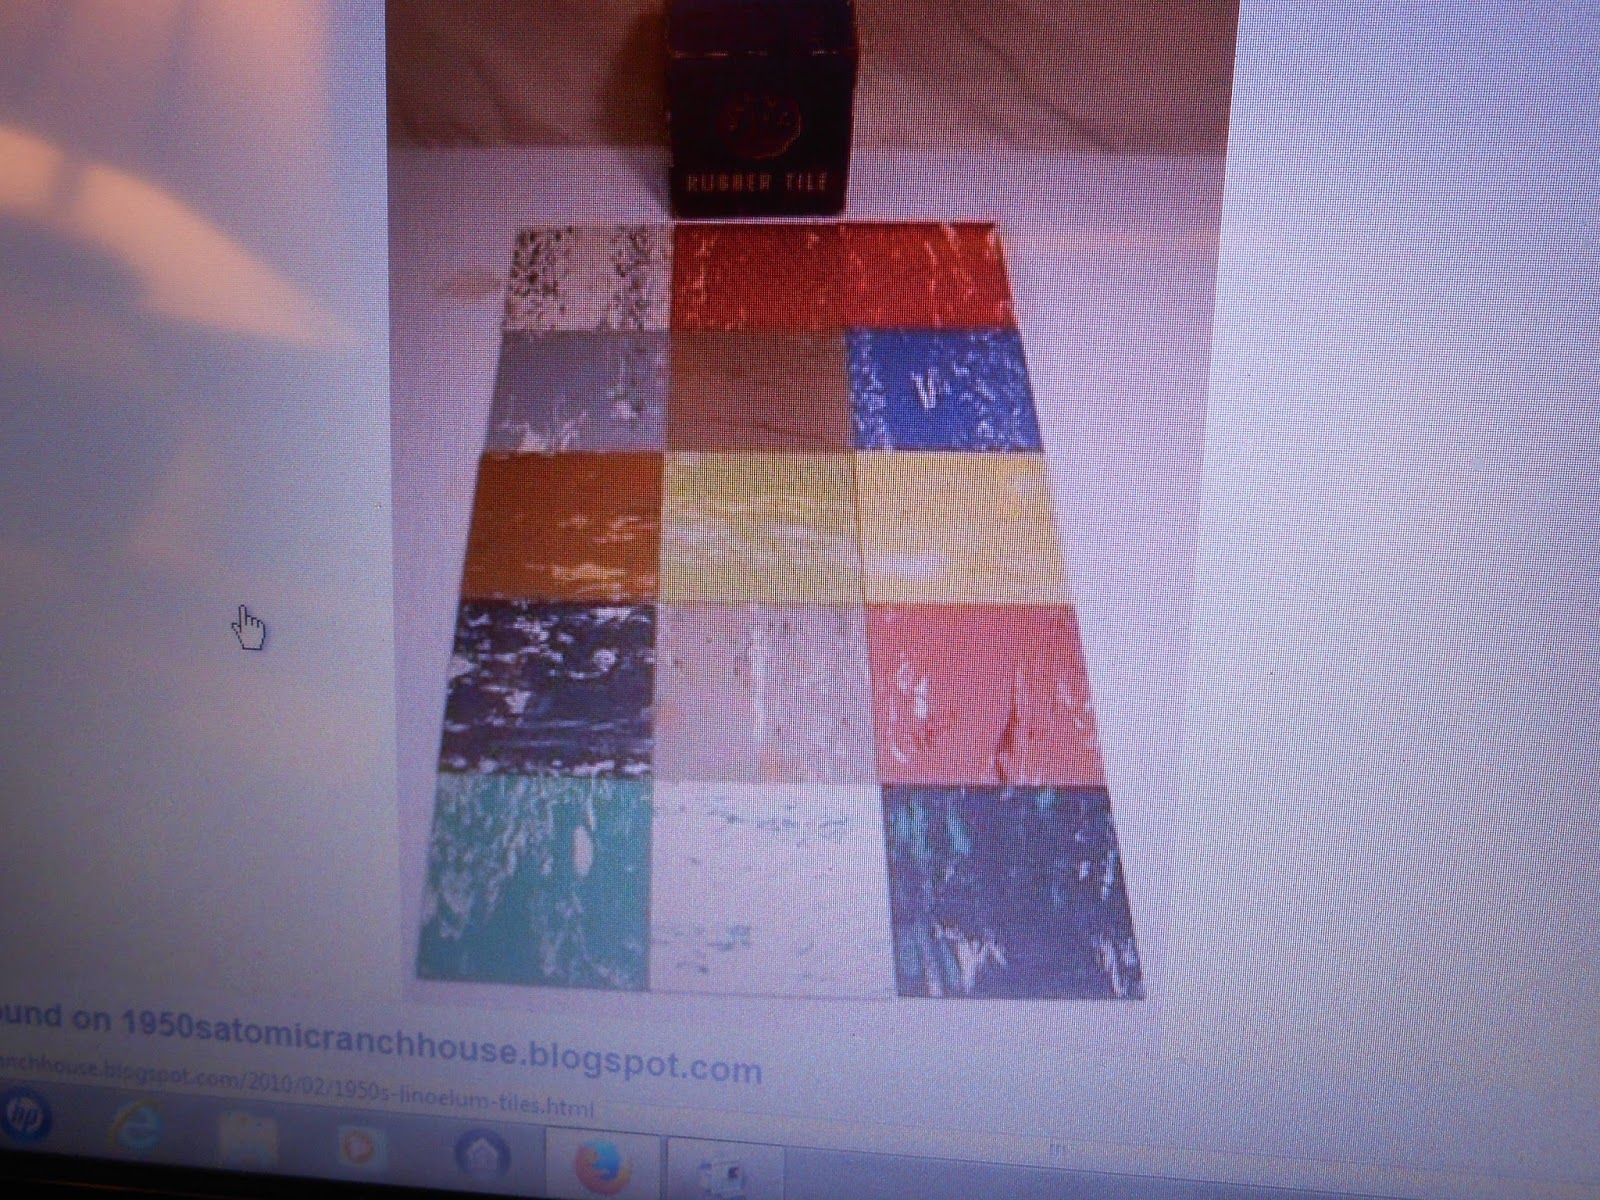
Now for the getting started part - I found a large book of scrapbook paper (1/2 off!) in the colors I am planning to use in the Westville. With a 1950s timeline I wanted teals, pinks, greens, etc. Last evening and today I spent some time with markers adding color accents to some of the papers to give me the 50s feeling I'm going for. This is a sample block of different colors of the linoleum floor tile I want to replicate.

 I started with this green and cream checkerboard scrapbook paper and added colors to the "tiles" to get the effect I want.
 Then I folded along all of the squares to make them look like individual tiles. Once I get page sealed and in place, I think I am going to be happy with the results.
 This paper will be the living room wallpaper. It was all just turquoise on white. I added pink, olive green, and a bit of blue gray. This also needs sealed but will look good with the tweedy gray sofa and gray print drapes. I haven't decided whether to make the chair matching or contrasting.
 I feel like I'm making progress on the design part of the house now. I'm starting to see it come together in my mind. Fingers crossed that my thoughts translate well to reality. ;-)
Have a wonderful, blessing-filled week!
Now for the getting started part - I found a large book of scrapbook paper (1/2 off!) in the colors I am planning to use in the Westville. With a 1950s timeline I wanted teals, pinks, greens, etc. Last evening and today I spent some time with markers adding color accents to some of the papers to give me the 50s feeling I'm going for. This is a sample block of different colors of the linoleum floor tile I want to replicate.


Have a wonderful, blessing-filled week!
Wednesday, July 22, 2015
Finally something small!


The plastic furniture is mostly as it came from the package in the parlor. I added paper work to the desk.The tablecloth is a small fabric applique. Two tiny stacked beads make the centerpiece vase. The fireplace is a mini Christmas ornament.The artwork is made with a fingernail sticker.The rug is a bit of ribbon.The center table holds a potted plant on a doily made from a lace cutout.
I'm not sure if I'll ever do another quarter scale project. It's certainly not my favorite scale. I much prefer the detail you can get with 1:12 or 1:24. It was a fun experiment, though, and the scale certainly doesn't take up much space. I may not have a choice soon if I want to keep making mini houses, lol.
Recovery from foot surgery is going well. I have to spend most of the time with my foot elevated and I can't drive yet so it's been lonely. Most of my mini projects require me to sit at a table with my feet on the floor. I haven't got to that point yet. My best friend has kept me well stocked with library books and my daughter shared her Netflix account so I haven't been too bored. It was very nice to play with minis for a little while today.
Wishing you all a blessing filled day!
Subscribe to:
Posts (Atom)
