...unless, of course, I find something that needs to be added, taken away, or changed. ;-) You all know how mini projects go and I seem to have more trouble than most with calling a project finished.
Besides the hanging spider plant and philodendron, I added a caladium and an ivy heart topiary.
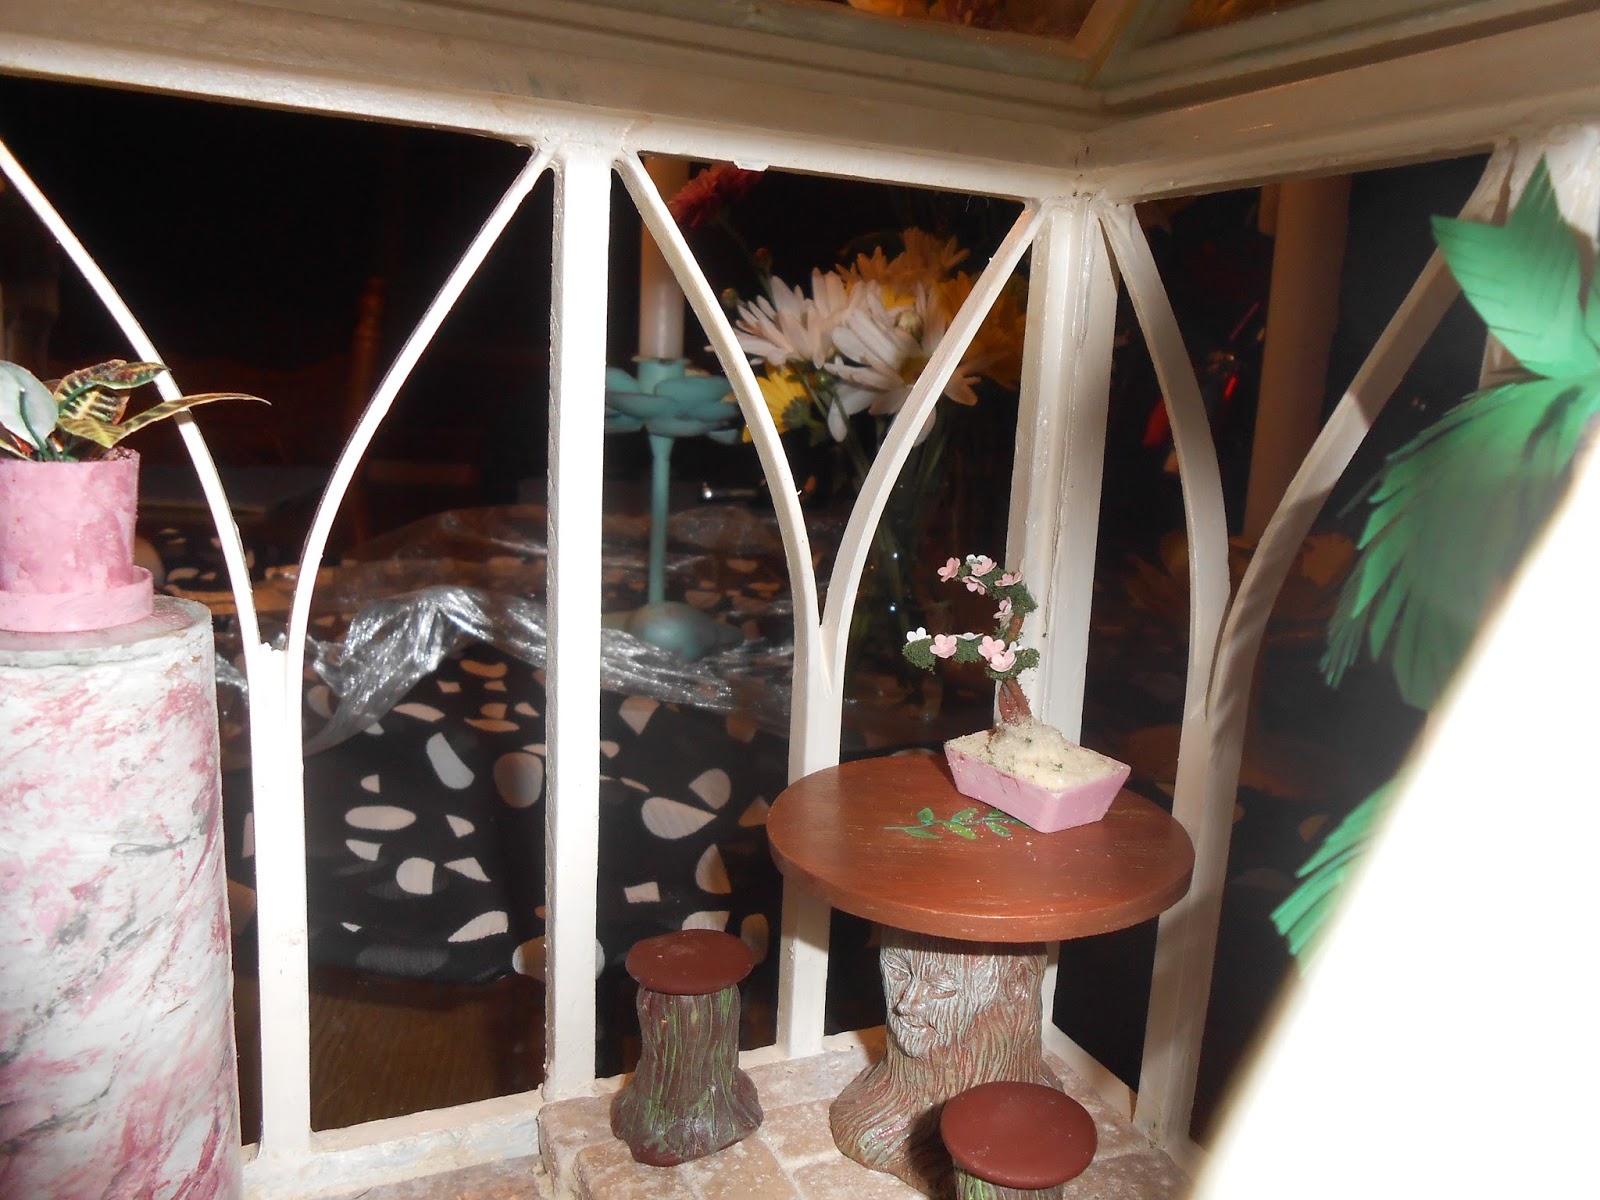
Some of you may have noticed a slight change to the tree stump stools. When I made them several years ago I didn't have any woodsie circles so I made the seats our of polymer clay. Since the set was in a child's room, I made the seats small. Now I have circles and the conservatory is more an adult place so the stools got a nice wood seat upgrade.
I had the gray bird in my stash. This monarch and the butterfly on the other end came from a recent printies sheet in American Miniaturist.
The calico cat, made by my friend Brenda, was stolen from the back porch. They don't need both a cat and a dog, right? The conservatory just seems like a place a cat would curl up and nap in.
I added some more shading to the palm tree and painted a hint of a leaf vein down the center of each leaf.
Don't you love how you sometimes put off a project because you just aren't sure what you want to do and then, suddenly, inspiration strikes and the whole project comes together? That's how this went. Once I decided what to do with the floor I was off and running. It's been a stressful week at work so it's been great to come home and de-stress in the mini conservatory.
One thing I do plan to add is a resin figure. I think
this one
looks a bit like me. :-)


